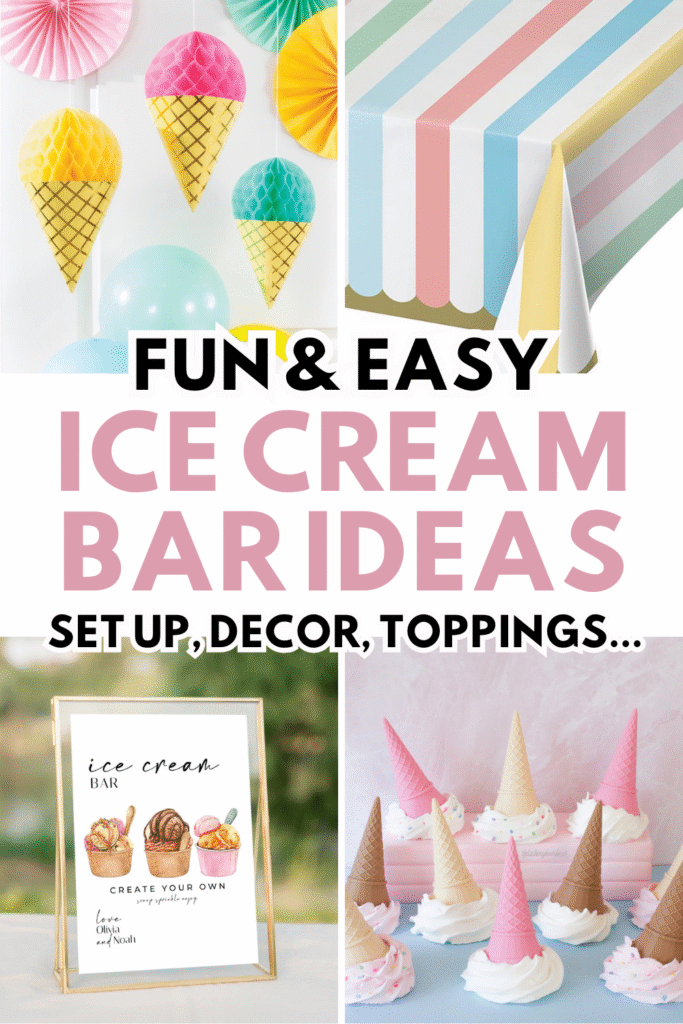
When the sun’s out and the temps are high, nothing beats ice cream—except maybe customizable ice cream. A DIY ice cream bar is the perfect way to add a sweet (and interactive!) twist to your summer party, whether you’re hosting a backyard bash, birthday celebration, or a casual family get-together.
Best part? It’s ridiculously easy to set up and guaranteed to make both kids and adults very, very happy. All you need are the basics—ice cream, toppings, and cute containers—and a little creativity to turn a simple dessert into a full-on summer experience.
Ready to build the coolest treat table of the season? Let’s scoop into the essentials, toppings, presentation ideas, and hosting tips to make your ice cream bar a hit.
Choose Your Ice Cream Bar Style or Theme
Before you start scooping, decide what kind of vibe you want for your DIY ice cream bar. Whether you’re going all-out Pinterest-perfect or keeping it laid-back and kid-friendly, a theme can help guide your setup and add some extra fun.
Classic Sundae Station
You can’t go wrong with a traditional setup: a few popular ice cream flavors, classic toppings, and all the fixings for the perfect sundae. Think fudge, sprinkles, cherries, and whipped cream.

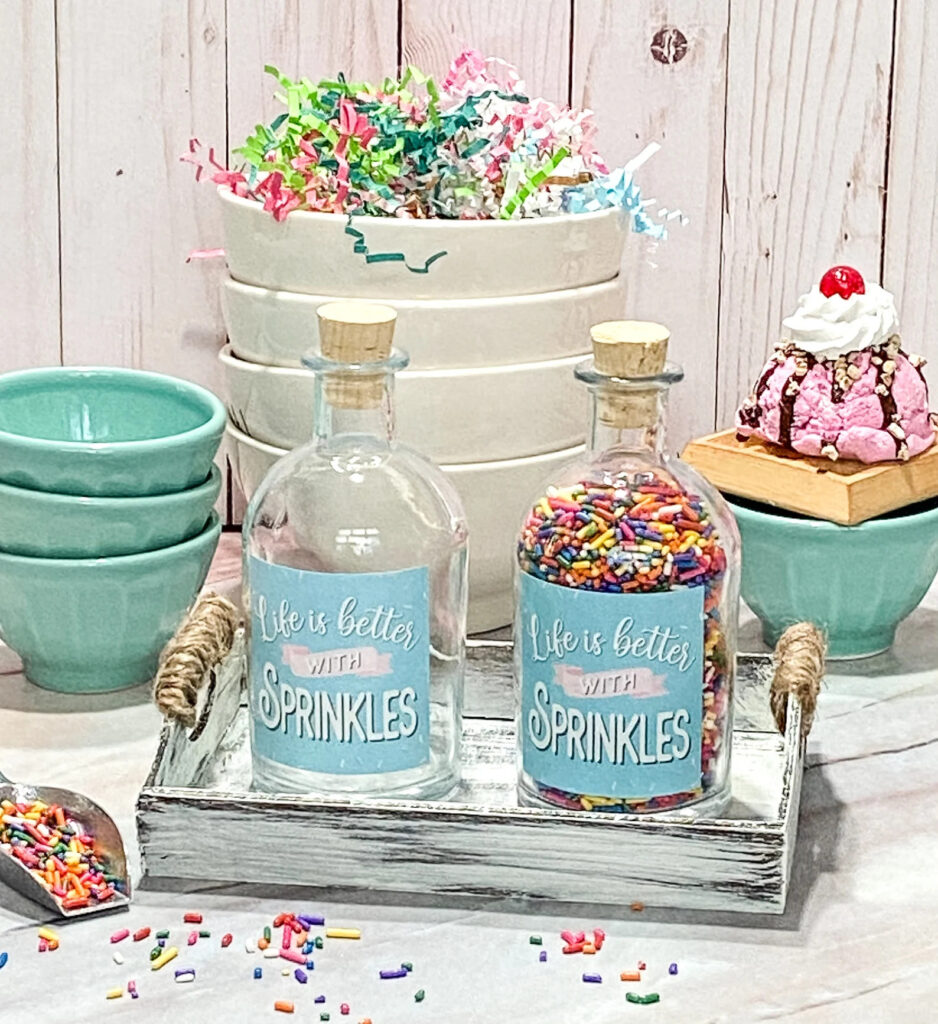
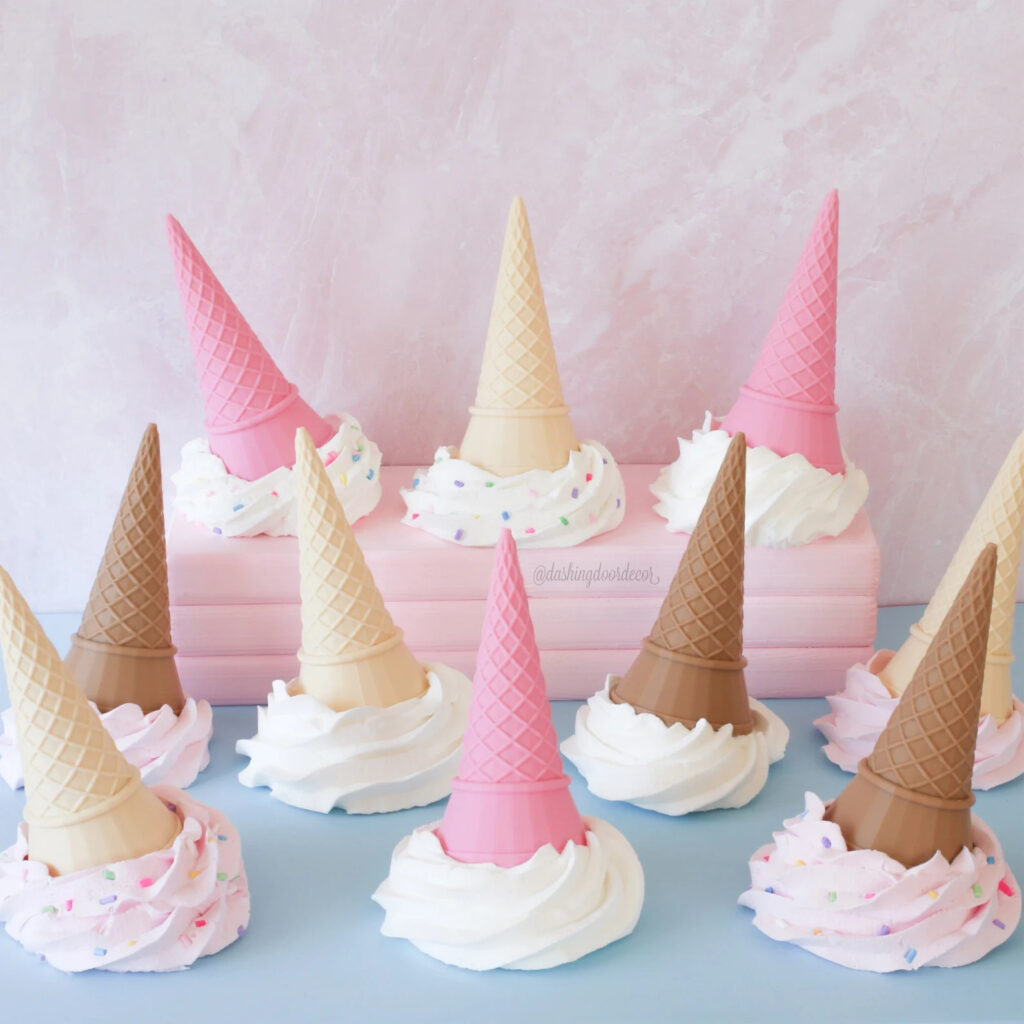
Color-Themed Bar
Pick a color scheme—like pastels for a baby shower or red, white, and blue for the 4th of July—and carry it through your toppings, table décor, and even the sprinkles.
Ice Cream Float Bar
Offer sodas (like root beer, orange soda, or cola) and a couple of ice cream flavors so guests can create their own ice cream floats. Add fun straws and mason jars for an old-school touch.
Build-Your-Own Banana Split Station
Provide halved bananas and let guests add scoops of their favorite flavors with all the traditional toppings: hot fudge, caramel, whipped cream, chopped nuts, and a cherry on top.
Mini Scoop Bar for Kids
Keep it simple and kid-sized with mini cones, tiny scoops, and mess-friendly toppings like mini marshmallows, crushed cookies, and colorful sprinkles.
Elegant Dessert Bar
Hosting an adult summer soirée? Think gelato or gourmet ice creams, artisan sauces (like balsamic berry or espresso chocolate), and elevated toppings like candied nuts or coconut flakes.
Tropical-Themed Bar
Channel island vibes with coconut ice cream, mango sorbet, pineapple chunks, macadamia nuts, and toasted coconut. Bonus points for tiki cups or paper umbrellas.
Ice Cream Essentials
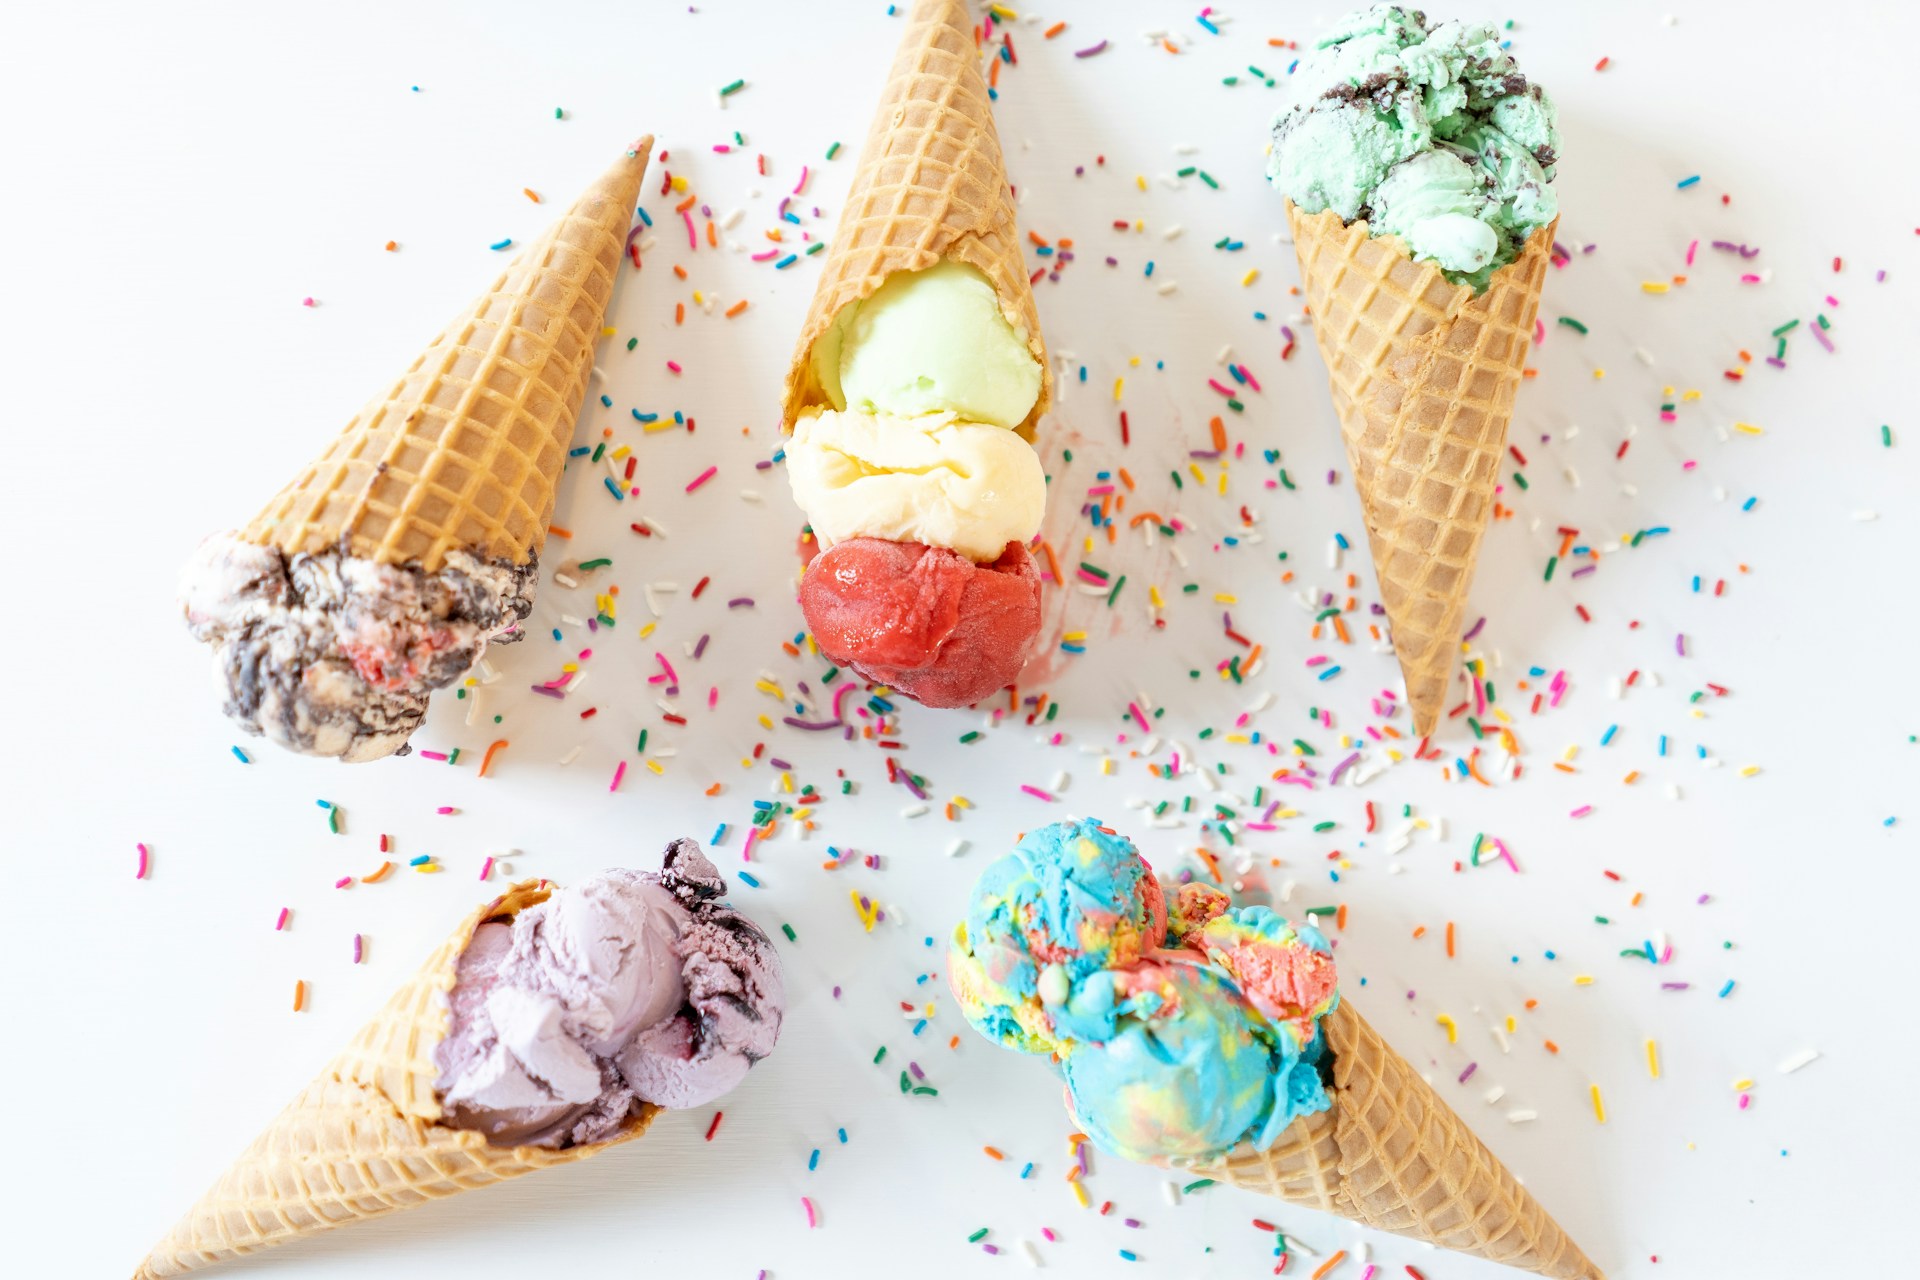
No DIY ice cream bar is complete without a solid base: the ice cream itself. Here’s what to consider when choosing flavors, serving options, and how to keep everything cold (without turning your table into a melty mess).
Pick a Few Crowd-Pleasing Flavors
Stick with three to five options, depending on your guest count. You can’t go wrong with:
- Vanilla (a blank canvas for toppings)
- Chocolate
- Strawberry
- Cookies & Cream
- Mint Chocolate Chip
Want to Get Fancy?
Add in a couple of “fun” or seasonal flavors like birthday cake, cookie dough, or lemon sorbet.
Don’t Forget Dietary Needs
Include at least one non-dairy option if you’re hosting a crowd. There are great coconut, almond, and oat milk-based ice creams out there that taste amazing.
How Much Ice Cream to Buy
Plan for about 1.5 cups of ice cream per guest (that’s roughly one large scoop per flavor if offering 3). It’s better to have a little extra than to run out mid-party!
Keep It Cold Without Stress
- Use small tubs or bowls nested inside a tray of ice
- Chill metal serving bowls in the freezer beforehand
- For larger parties, pre-scoop into paper cups and refreeze—just grab and go when it’s time to serve

Scoop Tips
Have multiple scoops on hand to keep lines moving, and a cup of warm water nearby to rinse them between flavors.
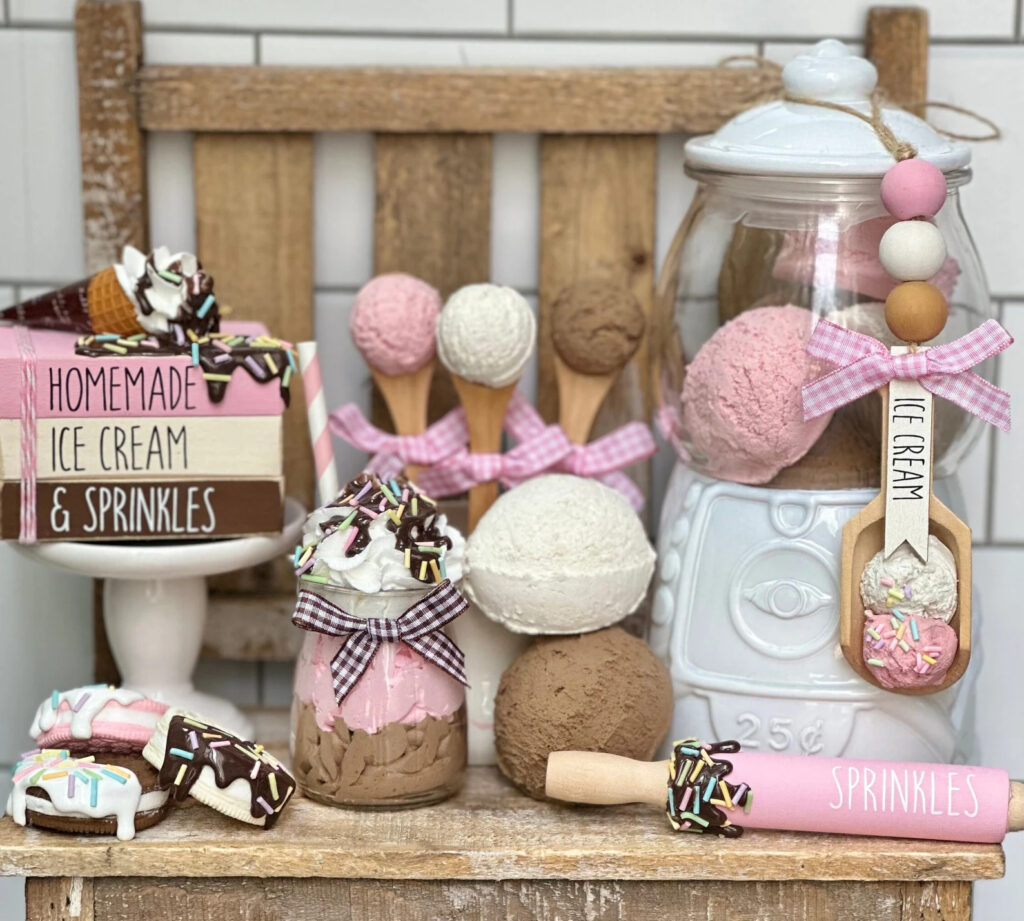
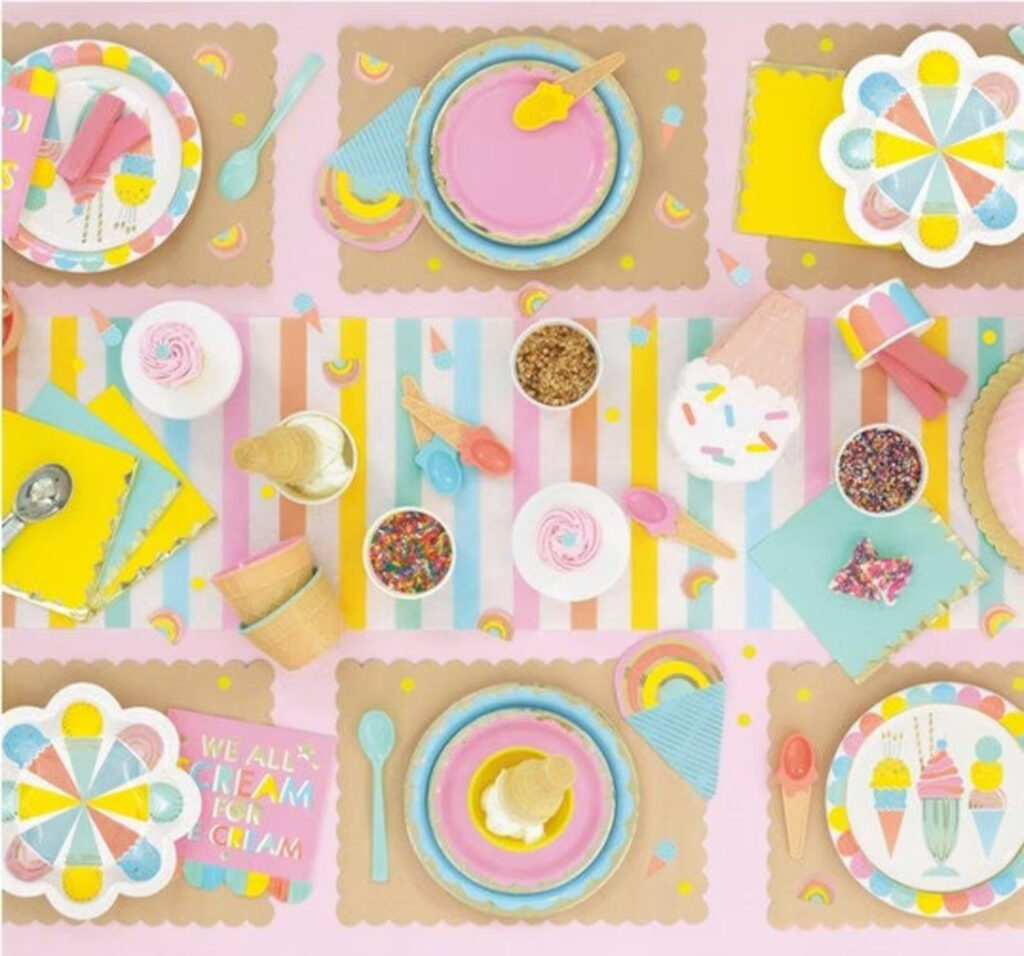
Toppings Galore
The best part of a DIY ice cream bar? The toppings, of course. Mix and match textures, colors, and flavors so everyone can build their dream sundae. You can display them in small bowls, mason jars, or even a muffin tin for easy scooping.


Sweet & Colorful
These classic goodies add fun and flair:
- Rainbow sprinkles
- Chocolate chips
- Mini marshmallows
- M&M’s or Reese’s Pieces
- Crushed Oreos or cookies
- Gummy bears or worms
- Mini chocolate bars or chopped candy
Sauces & Syrups
Offer a few drizzle-worthy options:
- Hot fudge
- Caramel sauce
- Strawberry syrup
- Peanut butter drizzle
- Marshmallow fluff
- Honey or maple syrup (great for a breakfast-style bar!)
Crunchy & Salty
Balance the sweetness with a little texture:
- Chopped nuts (peanuts, almonds, walnuts)
- Crushed pretzels
- Granola
- Cereal (Fruity Pebbles, Cocoa Krispies, etc.)
- Crushed waffle cones
Fresh & Fruity
Keep it light and summery:
- Sliced strawberries
- Blueberries or raspberries
- Pineapple chunks
- Banana slices
- Cherries (fresh or maraschino)
- Shredded coconut
- Mint leaves
Extras That Wow
If you want to go a little extra:
- Whipped cream (of course)
- Edible glitter or gold dust
- Chocolate curls or shavings
- Cookie dough bites
- Candied bacon (for an unexpected salty-sweet bite)
Cones, Cups & Extras
Once the ice cream and toppings are ready, it’s time to think about how your guests will build (and carry) their creations. Offer a variety of serving options so everyone can scoop their treat just how they like it.


Cones
Let guests choose their cone adventure:
- Waffle cones (classic and crowd-pleasing)
- Sugar cones (smaller, crunchier option)
- Cake cones (great for little kids)
- Chocolate-dipped cones (DIY or store-bought for a fun upgrade)
Cups & Bowls
Make it easy for those who prefer spoonable sundaes:
- Colorful paper ice cream cups
- Mason jars for a rustic touch
- Clear plastic bowls to show off all the layers
- Edible bowls (like cookie or brownie bowls—yes, really!)
Spoons & Napkins
Don’t forget the essentials:
- Bright or themed plastic spoons
- Mini tasting spoons (especially fun for kids)
- Plenty of napkins or wipes for those inevitable drips


Extra Fun Touches
Add a few little extras to level up the experience:
- Paper umbrellas
- Drink stirrers with flags or stars
- Personalized labels or name tags for cups
- Topping scoops or mini tongs
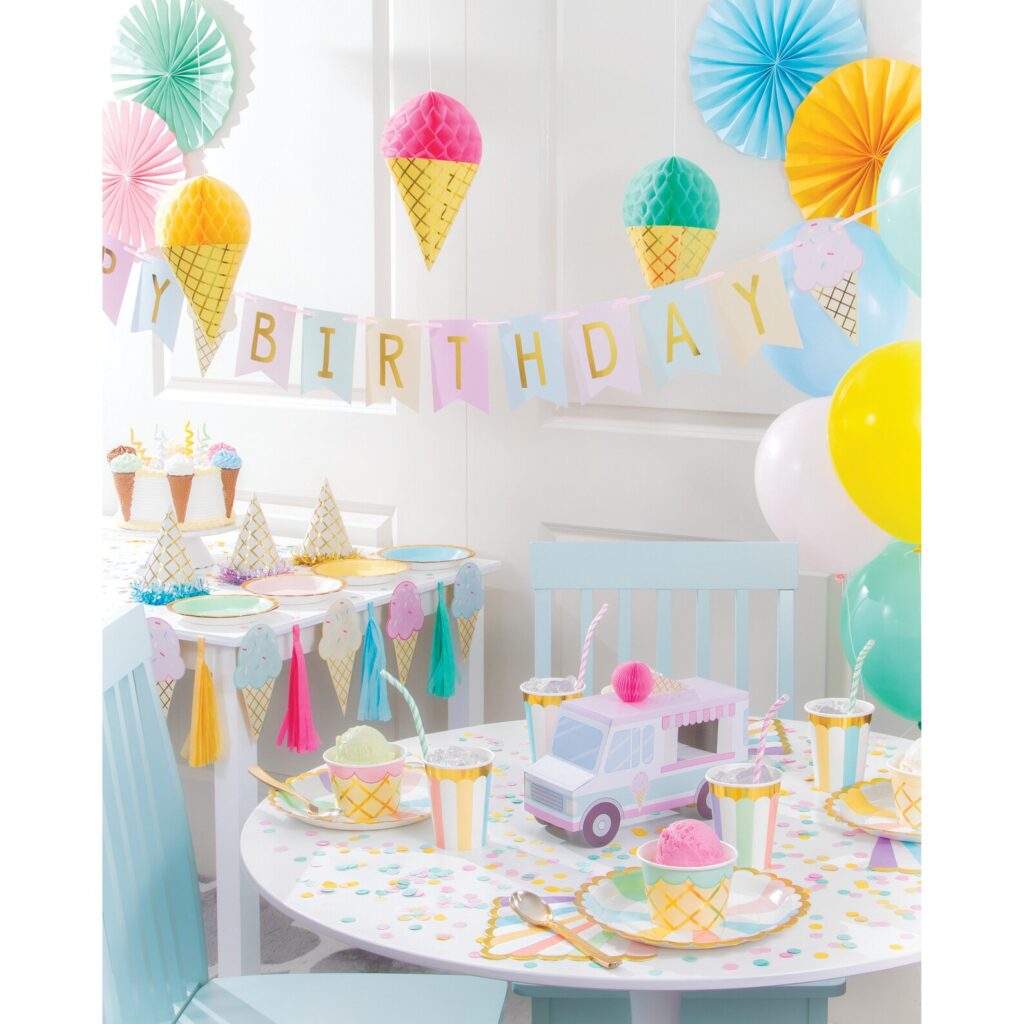
Styling & Setup Ideas
Presentation makes all the difference—especially if you’re hoping to snap a few share-worthy photos or impress your guests at first glance. The good news? It doesn’t take much to make your DIY ice cream bar look amazing.
Use Height and Layers
- Create visual interest by using cake stands, crates, or boxes to give your toppings and cones different levels.
- Group similar items together to make it easy for guests to find what they need.
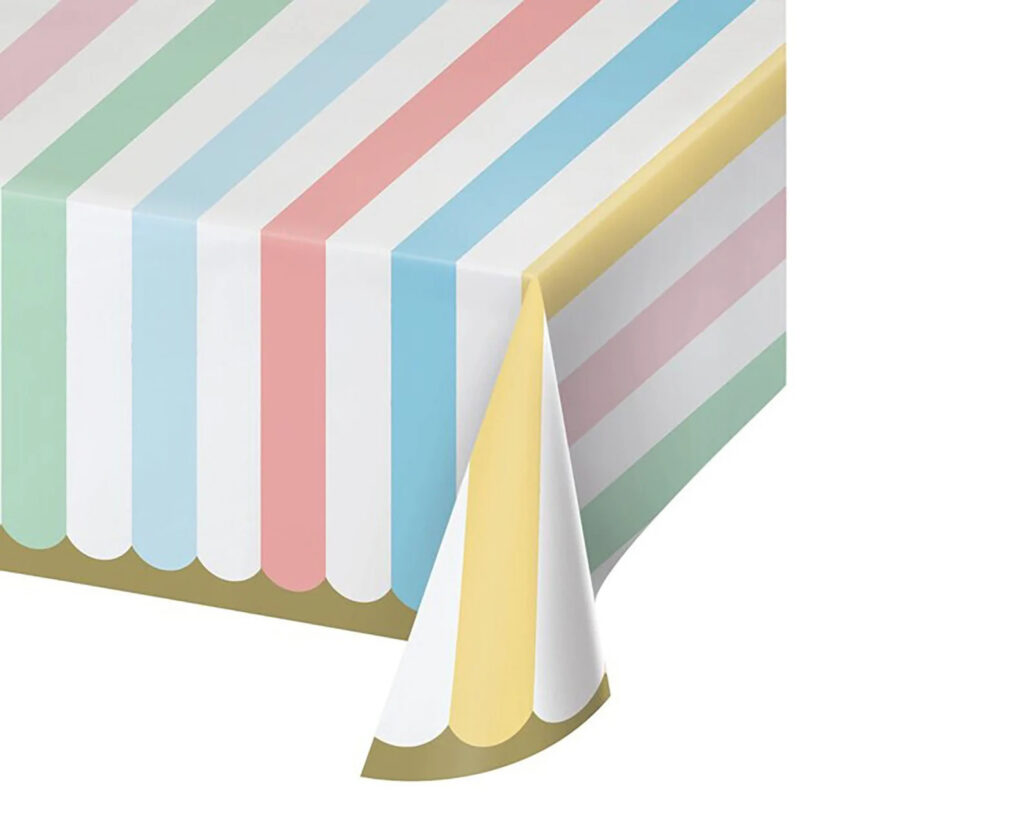
Stick to a Color Theme (If You Want)
- Pastels for a baby shower, bold brights for a kids’ party, or red, white, and blue for the 4th of July—coordinating cups, napkins, and signs makes everything feel pulled together.
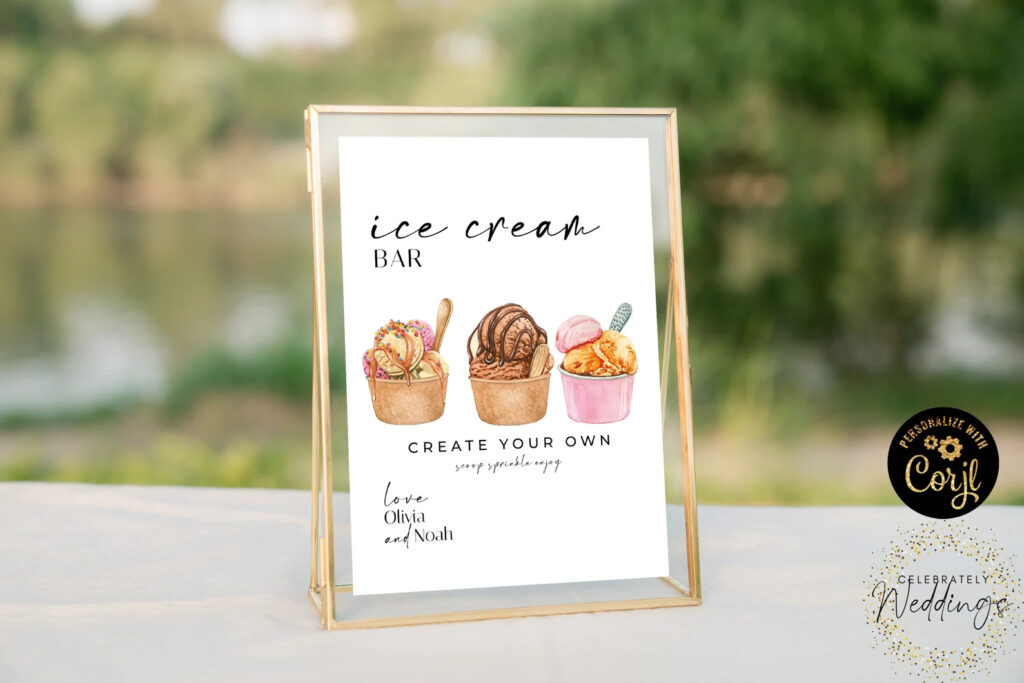
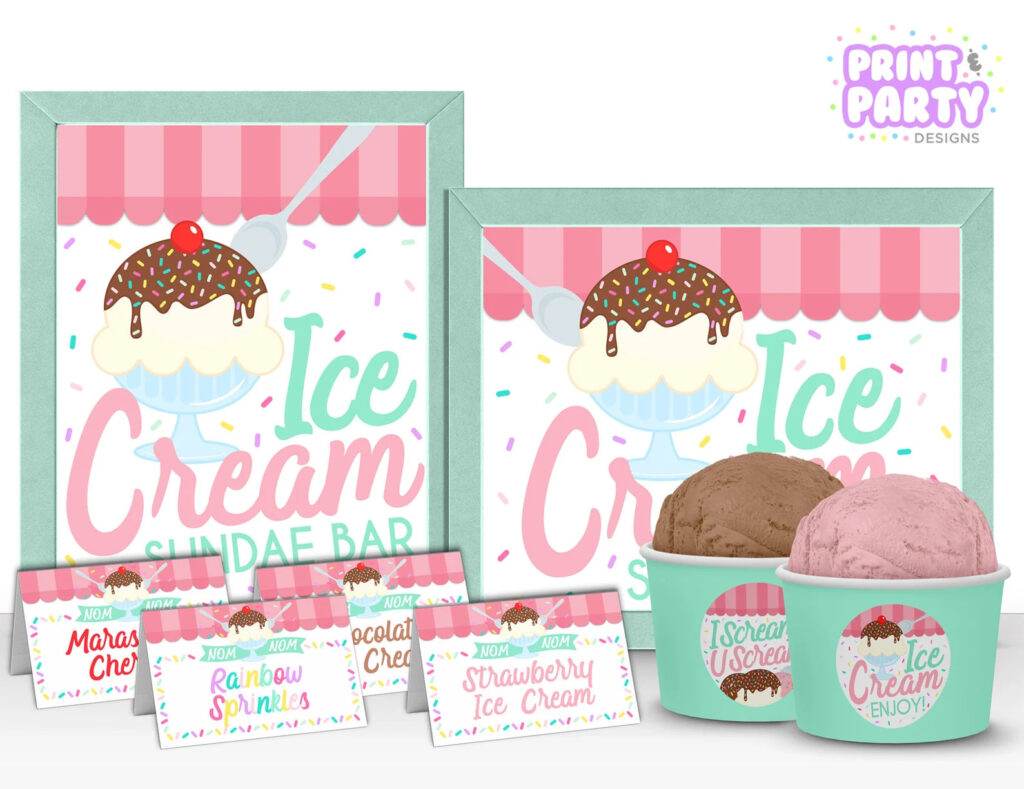
Label Everything
- Chalkboard signs, mini clip-on tags, or printable tent cards make it easy for guests to know what’s what (and help avoid allergy mix-ups).
- If you’re feeling crafty, create labels that match your party theme.
Contain the Chaos
- Use muffin tins, mason jars, or small bowls to corral toppings.
- Keep scoops in a cup of warm water for easy serving and less mess.
Keep It Cool (Literally)
- Nest ice cream tubs in a tray of crushed ice or use insulated containers if it’s hot out.
- Pre-scooping into individual cups and storing them in the freezer until party time is a great no-mess trick—especially for kids’ parties.
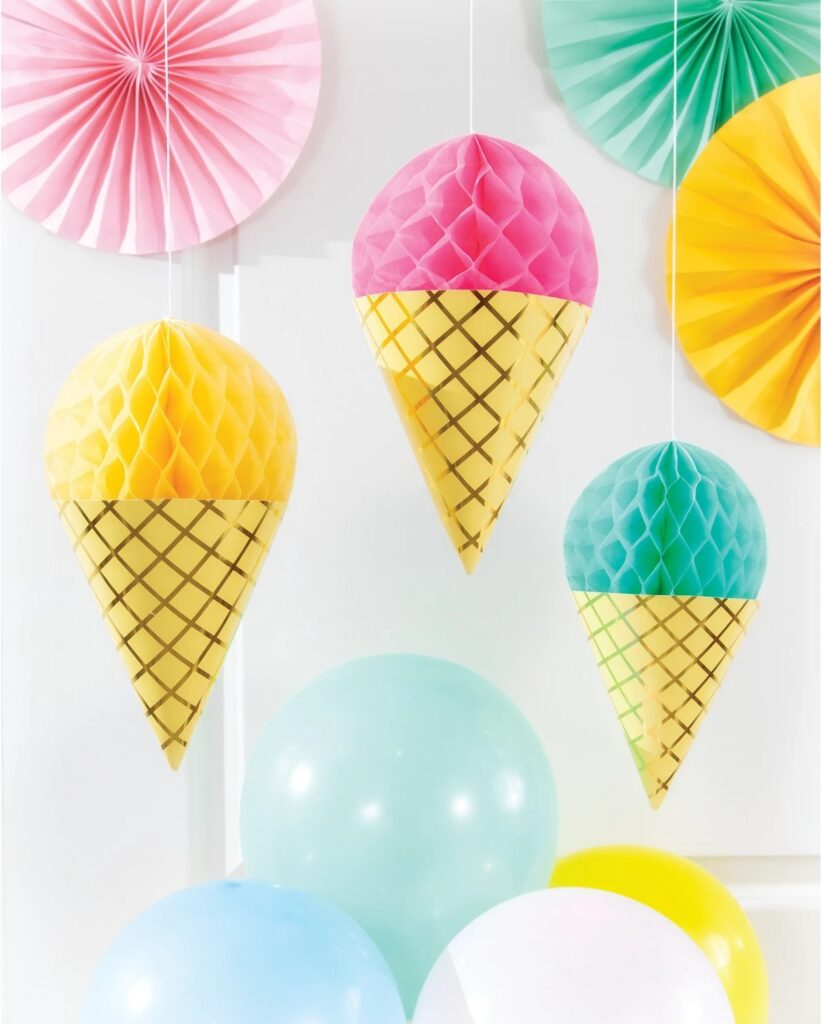
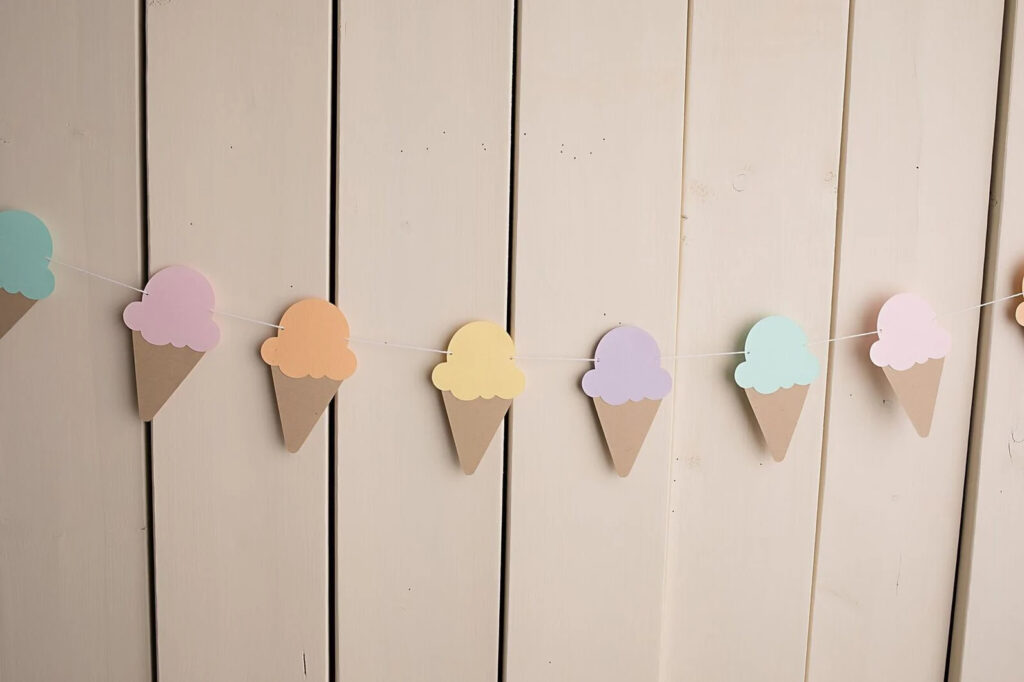
Add a Decorative Touch
- A banner that says “Ice Cream Bar” or “Sundae Funday” is a simple way to add charm.
- Add a table runner, balloons, or fresh flowers to match your summer party theme.
Final Thoughts
A DIY ice cream bar is the ultimate summer party win—easy to pull together, endlessly customizable, and guaranteed to please both kids and grown-ups alike.
Whether you’re hosting a backyard bash, birthday party, or just a sweet summer get-together, this setup brings the fun and flavor without a ton of stress.
So grab your scoops, stock up on toppings, and get ready to serve up smiles, one sundae at a time!
Save it on Pinterest for later: